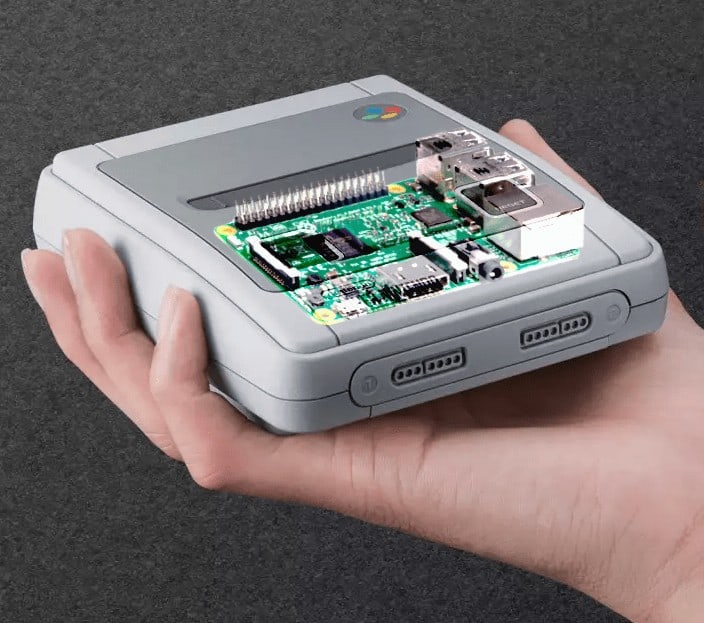
Da die Hardware des (S)NES Classic Mini sich gar nicht mal so von der des Raspberry Pi unterscheidet, ist es möglich den dort verwendeten Emulator auch auf einem Pi zum laufen zu bekommen! Er wird wohl auch auf ähnlichen ARM Boards und Systemen laufen, welche mit Linux arbeiten 🙂
Hier eine kleine Anleitung dazu!
Was braucht man?
1. Raspberry Pi 3
2. Micro SD Karte mit aktuellen Raspbian OS (Mit Desktop) – gibts hier: http://www.raspberrypi.org/downloads/raspbian/
Getestet auf einen frischen 2017-09-07-raspbian-stretch.img
3. USB Stick (Für das Kopieren der Dateien)
4. USB Keyboard
5. SNES Classic Mini NAND Dump (Decrypted) – bitte „erGoogeln“ da legale Grauzone!
Arbeiten am Pi 3:
Starte die Kommandozeile/das Terminal:
Drücke die „Windows Taste“
Navigiere zu „Accessories/Terminal“ & drücke Enter
Mache ein „snesmini“ Verzeichnis:
mkdir snesmini
cd snesmini
Kopiere den snes mini emulator „canoe-shvc“ in das Verzeichnis :
USB Stick mit „canoe-shvc“ Datei anstecken:
cp /media/pi/XXXX-XXXX/canoe-shvc .
Korregiere Berechtigungen:
chmod 755 canoe-shvc
Kopiere die „.sfrom“ game roms in das selbe Verzeichnis:
cp /media/pi/XXXX-XXXX/*.sfrom .
Update & Upgrade Raspbian:
sudo apt-get update
sudo apt-get upgrade
Installiere SDL 2:
sudo apt-get install libsdl2-dev
Linke libGLESv2.so zu libMali.so (Im aktuellen Raspbian nennt sie sich „libbrcmGLESv2.so“):
sudo ln -s /opt/vc/lib/libbrcmGLESv2.so /usr/lib/libMali.so
Link libGLESv2.so zu libGLESv1_CM.so (Im aktuellen Raspbian nennt sie sich „libbrcmGLESv2.so“):
sudo ln -s /opt/vc/lib/libbrcmGLESv2.so /usr/lib/libGLESv1_CM.so
Setup Screen:
Required screen settings for the emulator needs to match this:
xres: 1280
yres: 720
bits_per_pixel: 32
yres_virtual: 1440
Edit „config.txt“:
sudo nano /boot/config.txt
Unkommentiere und editiere diese Zeilen mit folgenden Werten
hdmi_group=2
hdmi_mode=85
(Dies stellt den Raspberry Pi HDMI frame buffer Bildschirmgröße auf 1280×720)
Boote den Raspberry Pi neu um die neuen Displayeinstellungen zu laden
sudo reboot
——————————————————————
Nach Neustart nochmal das Terminal/die Kommandozeile laden:
drücke die „Windows Taste“
Navigiere zu „Accessories/Terminal“ & drücke Enter
Gehe zum „snesmini“ Verzeichnis:
cd snesmini
Erstelle eine „run.sh“ Datei im selben Verzeichnis:
nano run.sh
Füge folgende Zeilen hinzu:
#!/bin/bash
fbset -vyres 1440
./canoe-shvc -filter 3 -rom "$1"
fbset -vyres 720
xrefresh
Speichere die „run.sh“ Datei mit:
Ctrl+O, Enter, Ctrl+X
Berechtigungen setzen:
chmod 755 run.sh
Benutze diesen Befehl um ein Spiel zu starten:
./run.sh game.sfrom
(Wenn eine Fehlermeldung von wegen „Invalid Audio Device ID“ kommt => ignorieren, Audio funktioniert trotzdem!)
Wenn du trotzdem kein Audio hörst, probiere folgendes:
A. sudo raspi-config
B. Advanced Options
C. Audio
D. Force HDMI
E. OK
F. Reboot (sudo reboot)
(Du kannst auch den Klickenstecker mit der „Force 3.5mm (‚headphone‘) jack“ Option nutzen.)
——————————————————————
Keyboard Steuerung:
Oben = Pfeiltaste Oben
Unten = Pfeiltaste Unten
Links = Pfeiltaste Links
Rechts = Pfeiltaste Rechts
NumPad2 = B Button
NumPad4 = Y Button
NumPad6 = A Button
NumPad8 = X Button
Enter = Start Button
Escape = Exit Emu
F4 = Save State-XXX.break
F5 = Pause Emulation
F8 = Save ShotXXXXX.png
F10 = Reset Emulation
PageUp = Load State-XXX.break
PageDown = Reload State-XXX.break
——————————————————————
Du kannst alle Kommandos auflisten wenn du das Script ohne ROM startest:
./canoe-shvc
|
Code:
Usage: canoe-shvc [options]
where options are:
--version Show version then exit -output-dir DIRECTORY Specify where output files are written -help Display this help screen -re 07 Resume state and play all .inputs in turn. -resume FILENAME.break Load an emulator state snapshot from specified file -replay FILENAME.inputs Process recorded user inputs in the specified file -replay-all Continue processing all .input files in sequential order -rollback-mode MODE Start in rollback mode (0=Idle 1=Record 2=Replay) -rollback-snapshot-period FRAMES Save a rollback snapshot every N frames (60 for 1 second) -rollback-input-dir DIRECTORY Specify where rollback files are read from -rollback-output-dir DIRECTORY Specify where rollback files are written -rollback-discard-data Discard input rollback data when starting recording instead of appending to it -during SECONDS Exit after given guest seconds elapsed -during-frames FRAMES Exit after given guest ticks --save-screenshot-on-quit PATH Save host screenshot before exiting --volume PERCENT Set the master volume -no-audio Do not open nor output audio -boost-fx FACTOR Multiply SuperFX clock speed -no-lowlatency Render in a separate thread, to accommodate "slow" titles. -lowlatency Render on the main thread to reduce input latency. -no-cpurender Use the old GPU code for rendering -cpurender Use the CPU for rendering -filter INTEGER Activate a post-process graphics filter (0=None 1=OpenGL 2=Scanlines 3=CRT) -magfilter INTEGER Specifies the magnification filter (0=Nearest 1=Linear 2=HorizontalLinear 3=AntiAliasedNearest). The default is nearest with -filter 1 and linear with -filter 2 or -filter 3. --wait-transition-fd EVENTFD Specifies the event fd to read before drawing the first frame. --start-transition-fd EVENTFD Specifies the event fd write to when starting the exit to menu transition. --finish-transition-fd EVENTFD Specifies the event fd to write when the exit to menu transition is finished. --transition-to-menu-sprite FILENAME Specifies the menu transition sprite sheet to use. --transition-to-menu-at-exit Plays the transition animation when exiting. --transition-from-menu Plays the transition animation before starting. -fp INTEGER Activate Flash/Patterns compensation filter (0=None, 1=VcPhoto 2-5=Armet:Additive,Blend,MonoAdditive 100=auto) -glFinish Graphics option to reduces latency on mali400, but may degrade framerate -no-glFinish Opposite of the above option, which became default as of 1.9.1201 -render-soft Use SDL software renderer. -show-minimized Create window in background --use-decorative-frame PATH Show a decorative frame using the given file, minus the extension --decorative-frame-hue Automatically tint the decorative frame, using the game's output --decorative-frame-saturation Automatically desaturate decorative frame, using the game's output --decorative-frame-luminosity Automatically change the decorative frame's luminosity, using the game's output --pixel-perfect Render the screen using square pixels --rollback-ui PATH Load the rollback UI from this folder -record-next Save next state snapshot and inputs on exit --save-on-quit FILENAME Save state snapshot on exit in given filename -use-state-saver Use StateSaver instead of QuickSave --sram-file FILENAME.sfrom Path to save the SRAM to when it's modified -exit-on-sram-file-load-error Exit if loading the SRAM file (--sram-file) failed --enable-sram-file-hash Output a .hash file for SRAM files (standalone and save state) --load-time-path FILENAME.sfrom Path to load the playtime --save-time-path FILENAME.sfrom Path to save the playtime -rom FILENAME.sfrom The game to emulate |
||
————————————————————-